Let’s make our very personal origami envelopes! They’re good for the vacation season, occasion invites, or Valentine’s Day. This simple origami envelope is Christmas-themed, however you possibly can customise it through the use of a distinct kind of paper sample.
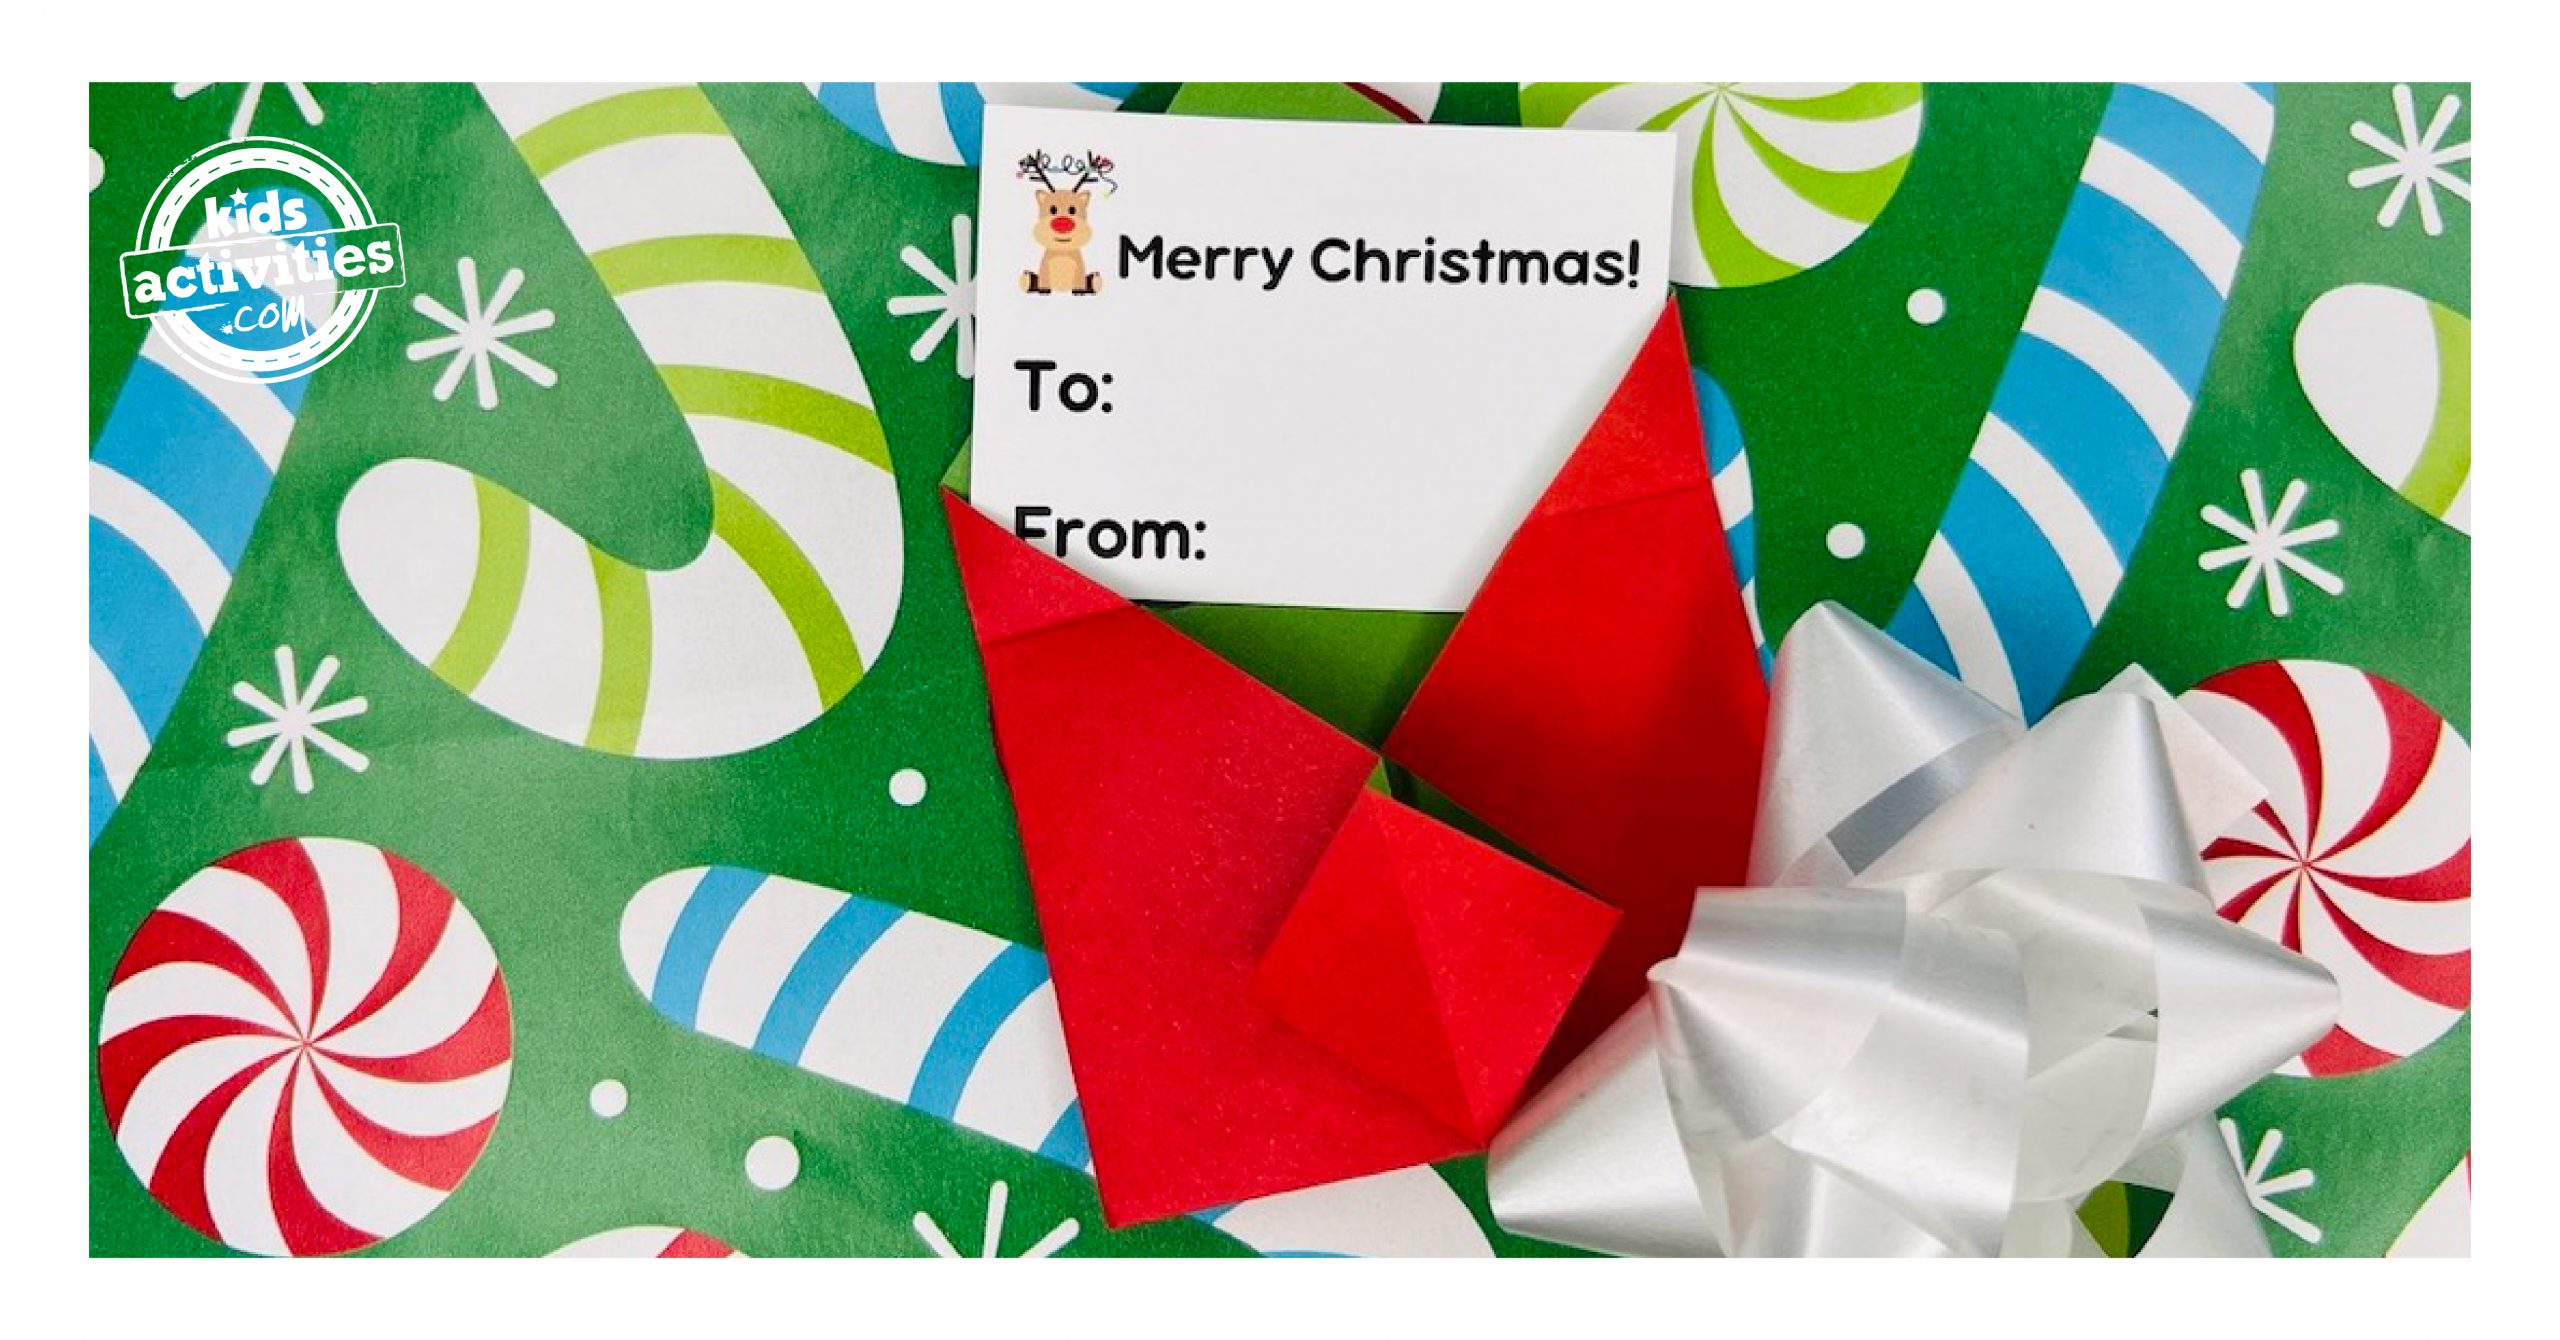
We additionally included a printable present tag you possibly can print and put in your DIY envelope.
Right here at Youngsters Actions Weblog, we love origami tasks! It’s a enjoyable approach for teenagers of all ages to observe their effective motor expertise and shade and form recognition. Adults may also get pleasure from making their very own envelope with a considerate, artistic observe inside for Christmas time. One of the best factor is that it solely takes a couple of minutes and a sq. of paper to make this convenient origami craft.

Conventional Origami Envelope
Origami crafts are an excellent easy approach to preserve youngsters busy. They’ll spend hours perfecting their craft, all whereas creating necessary expertise, resembling hand-eye coordination, effective motor expertise, and psychological focus.
We love making origami envelopes and gifting them throughout Christmas, Valentine’s Day, and different particular events. There’s nothing higher than a DIY card!
Associated: Christmas Tree Origami
Private suggestions
We used a inexperienced/pink origami paper which is ideal for the season, however Christmas wrapping paper or printer paper lower into a chunk of sq. paper works nice too.
When you use commonplace 6” sq. origami paper, a 2.5 x 2 inch card will match within the envelope.
Provides Wanted for Origami Envelope
- 1 sq. sheet of paper
- 10 inch piece of string or ribbon
- Scissors
- Glue
Directions For Making an Origami Envelope
Step 1
With the facet with the colour of the sq. piece of paper you need displaying dealing with down, fold opposing corners diagonally forming a middle crease.
Step 2
Fold prime nook all the way down to backside edge.
Step 3
Fold the appropriate facet of the triangle in, creasing about 1/3 of the best way.
Step 4
Fold the left facet of the triangle in, creasing about 1/3 of the best way.
Step 5
Fold the identical flap again so the nook is even with the surface edge.
Step 6
Open the small flap and squash fold midline to the middle.
Step 7
For the final fold, fold down the highest.
Step 8
The highest folds into the pocket fashioned by the squash folded flap to type the completed envelope! Now simply add a card!
Obtain Free Origami Envelope Present Playing cards
Printable Christmas Gift Cards
Prep Time
5 minutes
Energetic Time
10 minutes
Complete Time
quarter-hour
Problem
simple
Estimated Price
beneath $5
Supplies
- 1 sq. sheet of paper
- 10 inch piece of string or ribbon
- Scissors
- Glue
Directions
- With the facet with the colour of the sq. piece of paper you need displaying dealing with down, fold opposing corners diagonally forming a middle crease.
- Fold prime nook all the way down to backside edge.
- Fold the appropriate facet of the triangle in, creasing about 1/3 of the best way.
- Fold the left facet of the triangle in, creasing about 1/3 of the best way.
- Fold the identical flap again so the nook is even with the surface edge.
- Open the small flap and squash fold midline to the middle.
- For the final fold, fold down the highest.
- The highest folds into the pocket fashioned by the squash folded flap to type the completed envelope!
- Add a card!
Notes
We used a inexperienced/pink origami paper which is ideal for the season, however Christmas wrapping paper or printer paper lower into a chunk of sq. paper works nice too.
When you use commonplace 6” sq. origami paper, a 2.5 x 2 inch card will match within the envelope.
WANT MORE CHRISTMAS CRAFTS? TRY THESE FROM KIDS ACTIVITIES BLOG:
Did you get pleasure from making this origami envelope for Christmas?