Don’t let origami intimidate you. This simple origami Christmas tree venture is one in all our favorites and easy sufficient to get the children concerned. Get children of all ages concerned on this origami Christmas tree. After you’re completed, you should utilize your paper Christmas timber to embellish your Christmas desk, on the mantle or add it to your Christmas card.
Christmas Tree Origami Step-by-Step Directions
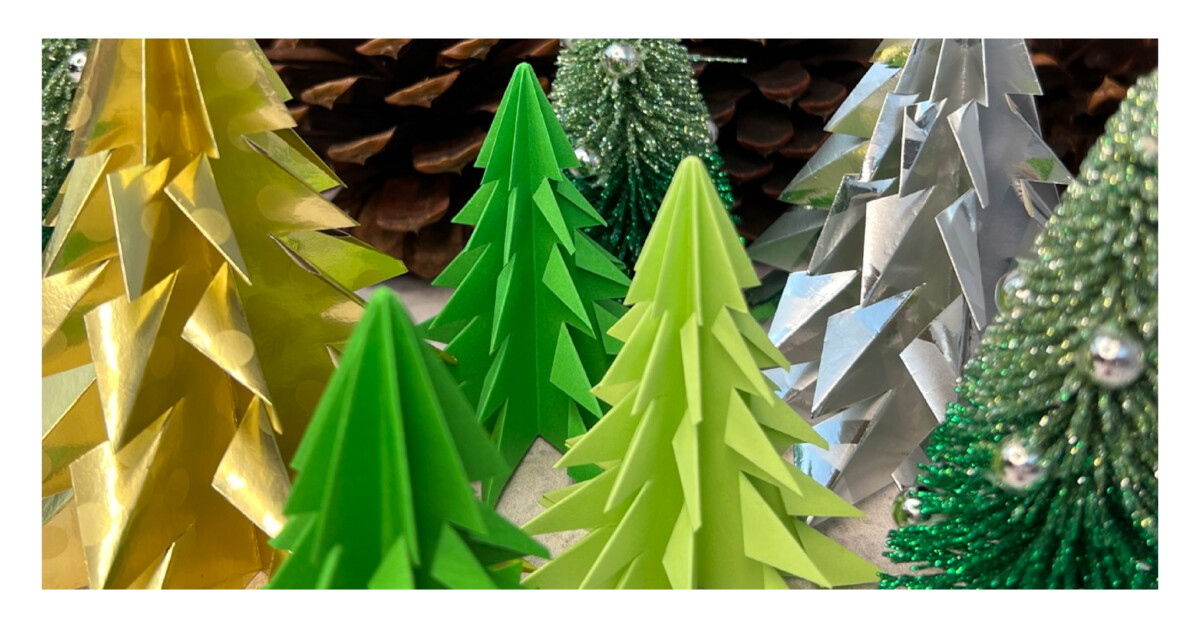
Folding origami is the craze for the time being! Origami is a magical craft that turns flat paper into one thing superb like this Christmas tree craft. Make a number of origami Christmas timber in numerous sizes to show collectively. Not solely do they make lovely decorations, however they’re additionally a good way to loosen up after a protracted day.
Associated: Extra Simple Christmas origami
Making these origami fashions of Christmas timber are a lot enjoyable and also you solely want a bit little bit of creativity and persistence, and a sheet of sq. paper. You should utilize origami paper that you would be able to purchase in any craft retailer or just use any inexperienced paper you’ve at hand. We simply know you’re going to have a good time making this simple Christmas tree.
This text incorporates affiliate hyperlinks.
Christmas Tree Origami Craft Provides

Directions to make a Christmas tree origami craft
Step 1

Fold the piece of paper in half.
Step 2

Open then fold the opposite manner in half.

Step 3

Flip over and fold diagonally.
Step 4

Open after which fold opposing corners diagonally.

Step 5

Carry corners collectively, letting sides fold inward at creases to kind a sq..

Step 6

Squash fold to kind a kite from every of the 4 exterior corners.
Step 7

Minimize off the underside corners alongside the horizontal border of the kite, leaving a triangle form.


Step 8

Make 4 cuts alongside both sides of the triangle, about two-thirds of the best way in direction of the middle for every reduce.
Step 9

Fold the underside nook of the periphery of every reduce to the inside finish of the highest of the cuts above to kind the triangular tree ‘department’.


Step 10

Repeat for every reduce.
Step 11

Now do the identical for the remaining seven exterior folds.
Step 12

Fan out the eight folds evenly for a cute Christmas tree that can stand upright!
Completed Christmas Tree Origami
And also you’ve made it – your tree is all completed! Now it’s time to customise it if you wish to, or create extra to make a forest. So lovely!
Associated: Try this easy origami craft!
Our Expertise with Making origami Christmas timber
This craft tutorial is superior sufficient as it’s; I don’t suppose you could change something. Nonetheless, if you wish to make it much more unique or festive, Christmas themed wrapping paper works nice too.
In truth, you can even attempt utilizing bigger paper for bigger Christmas timber! Glue on sequins to make it much more vibrant.
MORE CHRISTMAS ORIGAMI FOR KIDS
Prep Time
5 minutes
Energetic Time
25 minutes
Whole Time
half-hour
Problem
simple
Estimated Price
$1
Supplies
- Inexperienced 6 inch sq. origami paper
- Pair of scissors
- Non-compulsory: glue on sequins for ornaments or glitter for tinsel
Directions
- Fold piece of paper in half.
- Open then fold the opposite manner in half.
- Flip over and fold diagonally.
- Fold opposing corners diagonally.
- Carry corners collectively, letting sides fold inward at creases to kind a sq..
- Squash fold to kind a kite from every of the 4 exterior corners
- Minimize off the underside corners alongside the horizontal border of the kite, leaving a triangle form.
- Make 4 cuts alongside both sides of the triangle, about two-thirds of the best way in direction of the middle for every reduce.
- Fold the underside nook of the periphery of every reduce to the inside finish of the highest of the cuts above to kind the triangular tree ‘department’.
- Repeat for every reduce.
- Now do the identical for the remaining seven exterior folds.
- Fan out the eight folds evenly for a cute Christmas tree that can stand upright!
Notes
Christmas themed wrapping paper works nice too.
Attempt utilizing bigger paper for bigger Christmas timber!
MORE CHRISTMAS CRAFTS FROM KIDS ACTIVITIES BLOG
What did you consider this Christmas tree origami? Did you get pleasure from it? Tell us within the feedback!