Let’s make a cash sailboat! How? Effectively, all you want is a greenback invoice, a flat floor, and a little follow! This cash origami boat craft is an thrilling variation of a conventional sailboat, making it a enjoyable exercise to do anytime, wherever, with none prep. Yay!
Directions:
Whether or not it’s adorning a greeting card or just delighting a good friend with a singular reward, this cash origami boat is bound to make waves wherever it goes!
Step 1:
Start by folding the invoice in half lengthwise, creasing it firmly, after which unfold it.


Step 2:
Fold each of the high corners down towards the backside edge of the invoice.


Step 3:
Flip the invoice over in order that the flaps are going through downward.

Step 4:
Take the proper facet nook of the invoice and fold it diagonally up in the direction of the vertical center crease, forming a pointy level on the high.

Step 5:
Fold the left nook inward till its tip meets the vertical midline, creating one other pointed edge.

Step 6:
Subsequent, fold the left nook again out barely, leaving a small hole between the 2 folds.

Step 7:
Fold the identical nook up in the direction of the vertical midline once more, making a layered impact.

Step 8:
Fold the underside nook of the invoice upwards, creating the hull of your boat.

Step 9:
Flip the determine over as soon as extra, guaranteeing the folded edges are going through down.

Step 10:
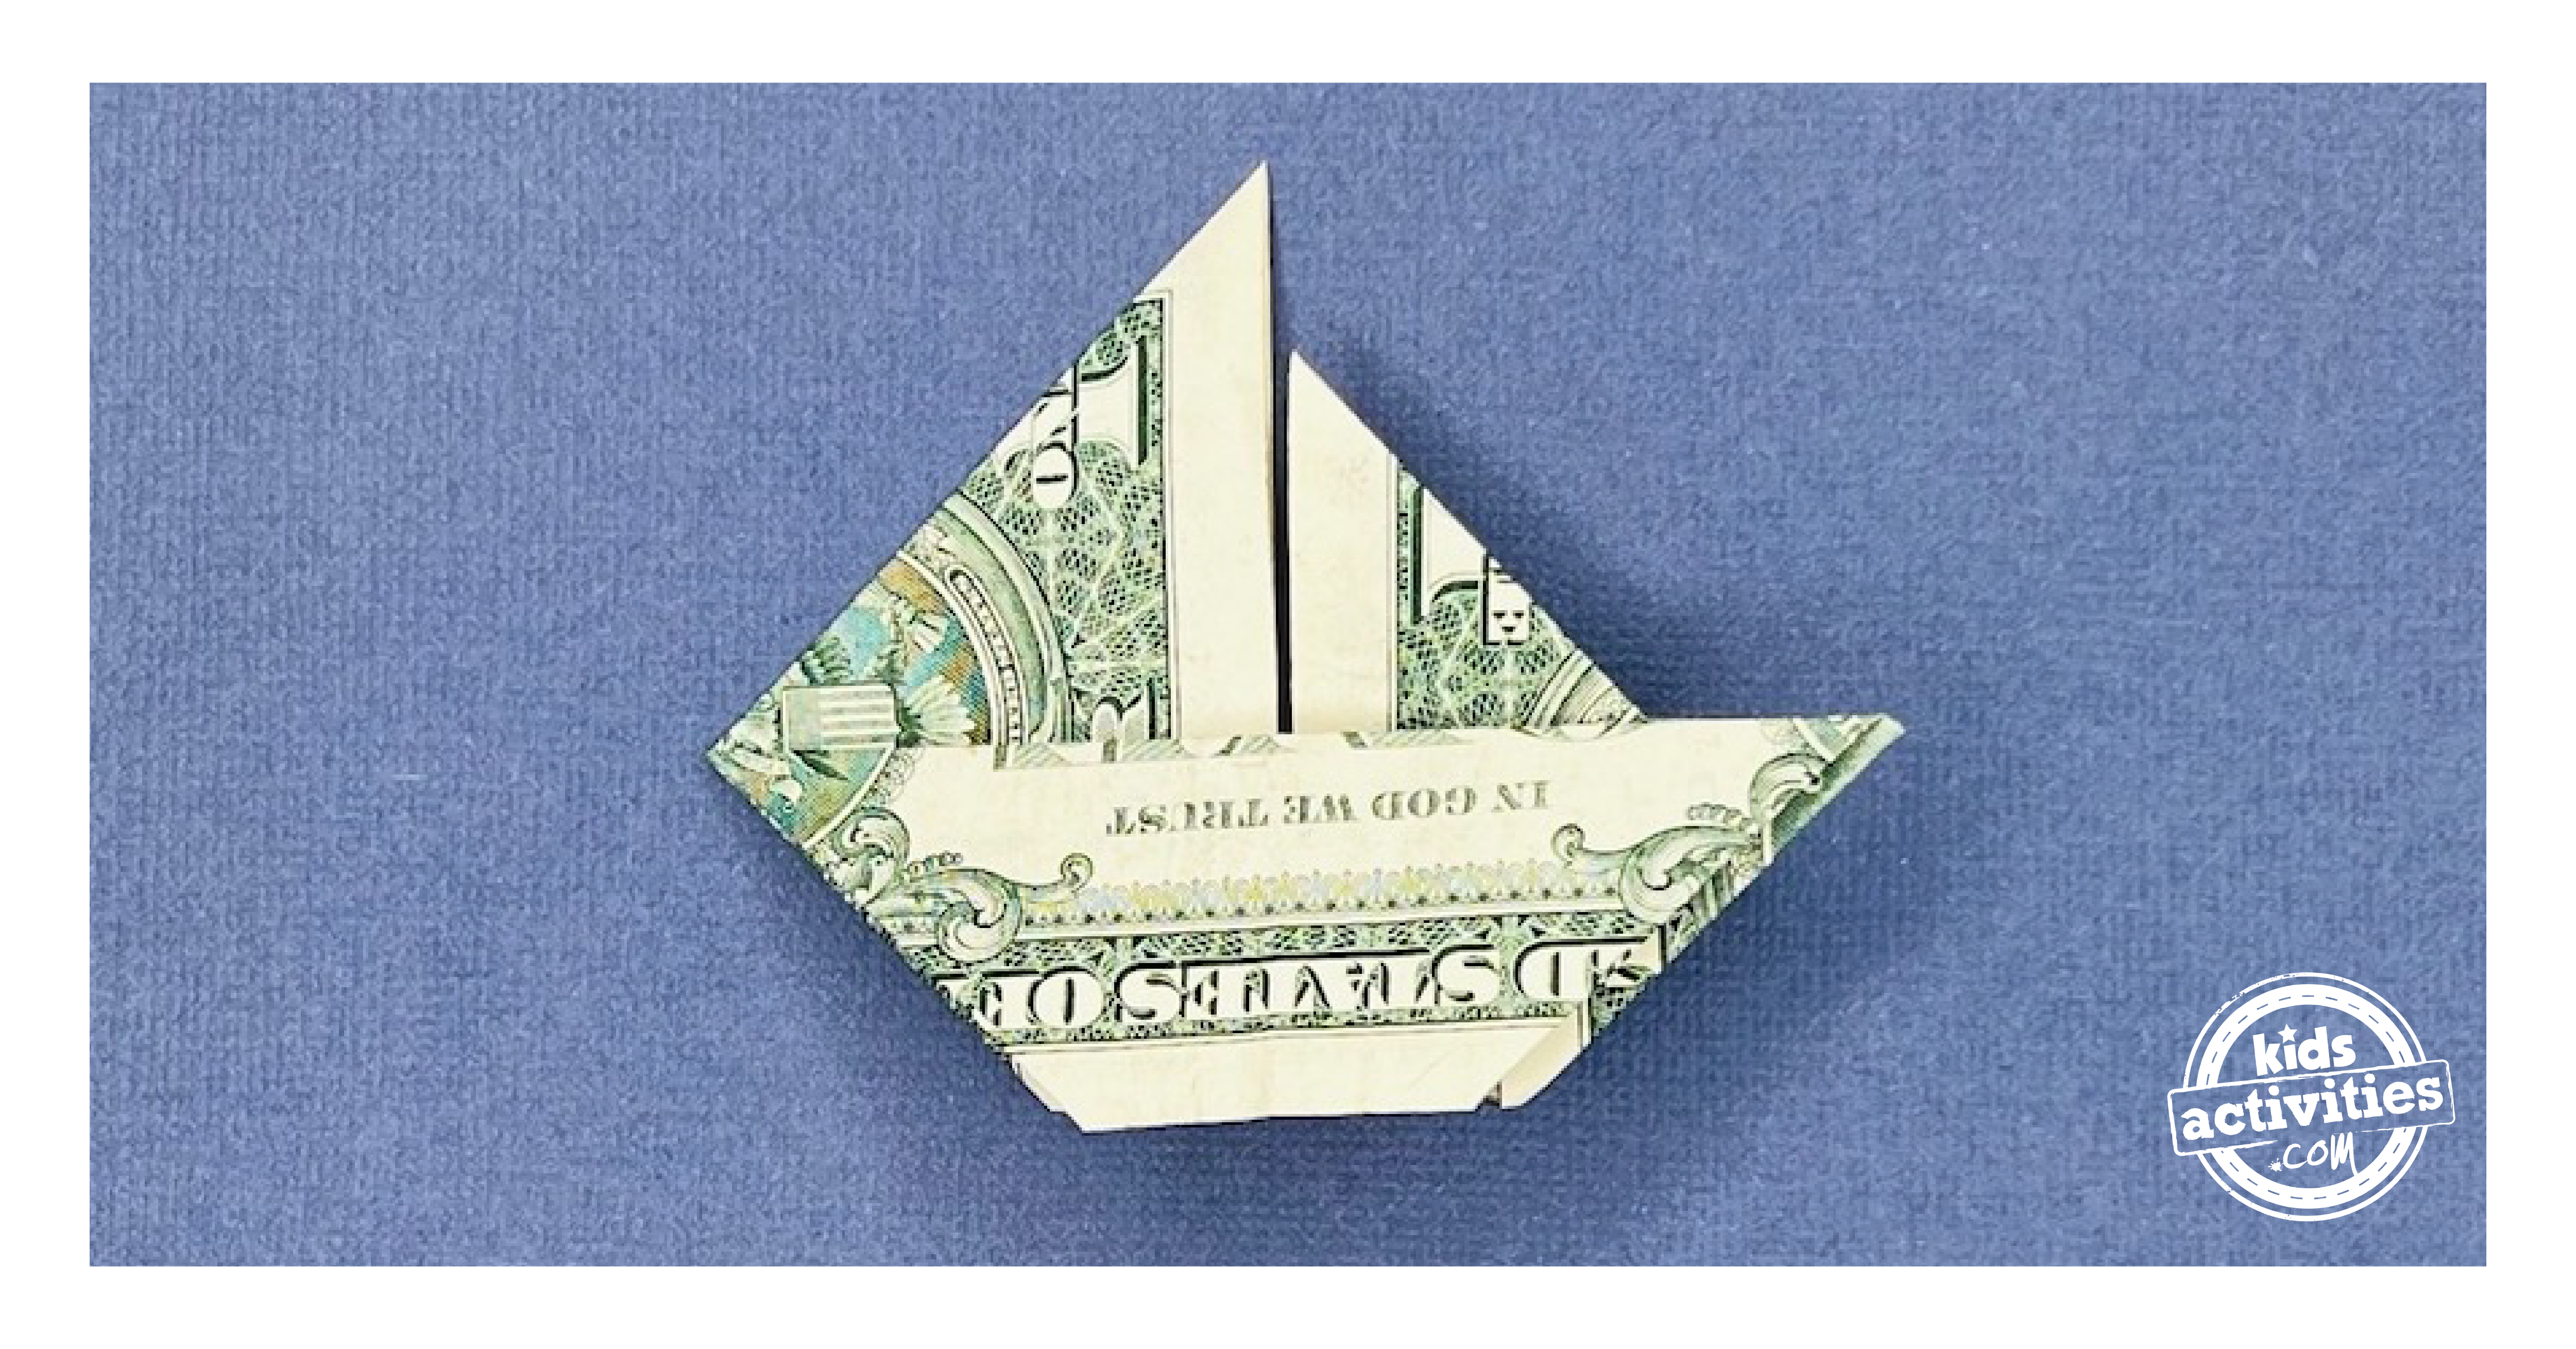
Now, fold the high layer down in half alongside backside of the boat, forming the sail of your cash origami boat.

Voila – greenback invoice origami boat is prepared! Wasn’t that a lot enjoyable?
Lively Time
10 minutes
Complete Time
10 minutes
Estimated Value
$1
Directions
- Start by folding the invoice in half lengthwise, creasing it firmly, after which unfold it.
![Dollar bill origami boat - Step 1 - Begin with a crisp dollar bill.Tutorial from Kids Activities Blog.]()
![Dollar bill origami boat - Step 1 - Fold the bill in half lengthwise, creasing it firmly, and then unfold it. Tutorial from Kids Activities Blog.]()
![Dollar bill origami boat - Step 1 - Unfold it. Tutorial from Kids Activities Blog.]()
- Fold each of the high corners down towards the backside edge of the invoice.
![Dollar bill origami boat - Step 2 - Fold both of the top corners down toward the bottom edge of the bill, creating two triangular flaps at the top. Tutorial from Kids Activities Blog.]()
![Dollar bill origami boat - Step 2 - Fold both of the top corners down toward the bottom edge of the bill, creating two triangular flaps at the top. Tutorial from Kids Activities Blog.]()
- Flip the invoice over in order that the flaps are going through downward.
![Dollar bill origami boat - Step 3 - Flip the bill over so that the flaps are facing downward. Tutorial from Kids Activities Blog.]()
- Take the proper facet nook of the invoice and fold it diagonally up in the direction of the vertical center crease, forming a pointy level on the high.
![Dollar bill origami boat - Step 4 - Take the right side corner of the bill and fold it diagonally up towards the vertical middle crease, forming a sharp point at the top. Tutorial from Kids Activities Blog.]()
- Fold the left nook inward till its tip meets the vertical midline, creating one other pointed edge.
![Dollar bill origami boat - Step 5 - Fold the left corner inward until its tip meets the vertical midline, creating another pointed edge. Tutorial from Kids Activities Blog.]()
- Subsequent, fold the left nook again out barely, leaving a small hole between the 2 folds.
![Dollar bill origami boat - Step 6 - Next, fold the left corner back out slightly, leaving a small gap between the two folds. Tutorial from Kids Activities Blog.]()
- Fold the identical nook up in the direction of the vertical midline once more, making a layered impact.
![Dollar bill origami boat - Step 7 - Fold the same corner up towards the vertical midline again, creating a layered effect. Tutorial from Kids Activities Blog.]()
- Fold the underside nook of the invoice upwards, creating the hull of your boat.
![Dollar bill origami boat - Step 8 - Fold the bottom corner of the bill upwards, creating the hull of your boat. Tutorial from Kids Activities Blog.]()
- Flip the determine over as soon as extra, guaranteeing the folded edges are going through down.
![Dollar bill origami boat - Step 9 - Flip the figure over once more, ensuring the folded edges are facing down. Tutorial from Kids Activities Blog.]()
- Now, fold the high layer down in half alongside backside of the boat, forming the sail of your cash origami boat.
![Dollar bill origami boat - Step 10 - Now, fold the top layer down in half along bottom of the boat, forming the sail of your money origami boat. Tutorial from Kids Activities Blog.]()
Voila – greenback invoice origami boat is prepared! Wasn’t that a lot enjoyable?
MORE DOLLAR BILL ORIGAMI TUTORIALS FROM KIDS ACTIVITIES BLOG:
Listed below are the greatest methods to make use of your further US {dollars} for enjoyable crafts!
Did you get pleasure from making this greenback invoice origami boat?