How To Make An Easy Origami Swan

0

Do you’ve got a bit one obsessive about conventional origami? You’re in the correct place! At present we’re studying easy methods to fold conventional origami swan. This origami mannequin is a soothing craft for youths of all ages and adults alike.

This easy origami swan helps children with dexterity and hand-eye coordination.

With only a sq. piece of paper and some easy folds, you’ll have your very personal origami swan!

Directions:

Step 1:

Begin with a sq. piece of paper. Valley-fold diagonally from the left to the correct facet, then unfold.

Origami Swan - Step 1 - A square piece of paper over a blue background. Tutorial from Kids Activities Blog
Let’s get began!
Origami Swan - Step 1 - The piece of paper is folded diagonally from the left side to the right side. Tutorial from Kids Activities Blog
Folding away!
Origami Swan - Step 1 - Unfolded paper. Tutorial from Kids Activities Blog
Unfold to see the brand new crease.

Step 2:

Flip across the paper. Fold every backside fringe of the paper towards the middle crease you made in step 1.

Origami Swan - Step 2 - Right bottom edge folded toward the center crease you made in step 1. Tutorial from Kids Activities Blog
Now fold the correct facet in.
Origami Swan - Step 2 - Left bottom edge folded toward the center crease you made in step 1. Tutorial from Kids Activities Blog
Repeat on the opposite facet.

Step 3:

Your paper ought to now appear like a kite. Flip the paper over.

Origami Swan - Step 3 - Paper turned over to the other side, looking like a kite. Tutorial from Kids Activities Blog
Flip it over once more.

Step 4:

Valley-fold either side edge in towards the middle once more.

Origami Swan - Step 4 - Right side valley-folded in toward the center. Tutorial from Kids Activities Blog
Bear in mind to maintain the folds crisp.
Origami Swan - Step 4 - Left side valley-folded in toward the center. Tutorial from Kids Activities Blog
And do the identical on the opposite facet.

Step 5:

Valley-fold the underside level upward to satisfy the prime nook.

Origami Swan - Step 5 - Bottom point valley-folded upward to meet the top corner. Tutorial from Kids Activities Blog
Upward and onward!

Step 6:

Valley-fold the slim level down as proven within the image.

Origami Swan - Step 6 - Narrow point valley-folded down to make the swan's face. Tutorial from Kids Activities Blog
Fold the swan’s face down similar to this.

Step 7:

Mountain fold the complete piece in half vertically.

Origami Swan - Step 7 - Entire piece is mountain folded in half vertically. Tutorial from Kids Activities Blog
Fold the swan in half vertically.

Step 8:

Decide up the swan and gently pull upward on the swan’s neck (firmly maintain the tall part together with your different hand), and crease alongside the bottom of the neck as soon as the neck is pointing within the place you need. Creasing will assist the lengthy neck stay in its place.

Origami Swan - Step 8 - Origami swan with the neck pulled out over a bluek background. Tutorial from Kids Activities Blog
Right here’s the neck of the swan. So cool!

Step 9:

Pull the head of the swan up barely and crease to carry it in place.

Origami Swan - Step 9 - Origami swan with the beak pulled out as a last step. Tutorial from Kids Activities Blog
Nearly executed!

Step 10:

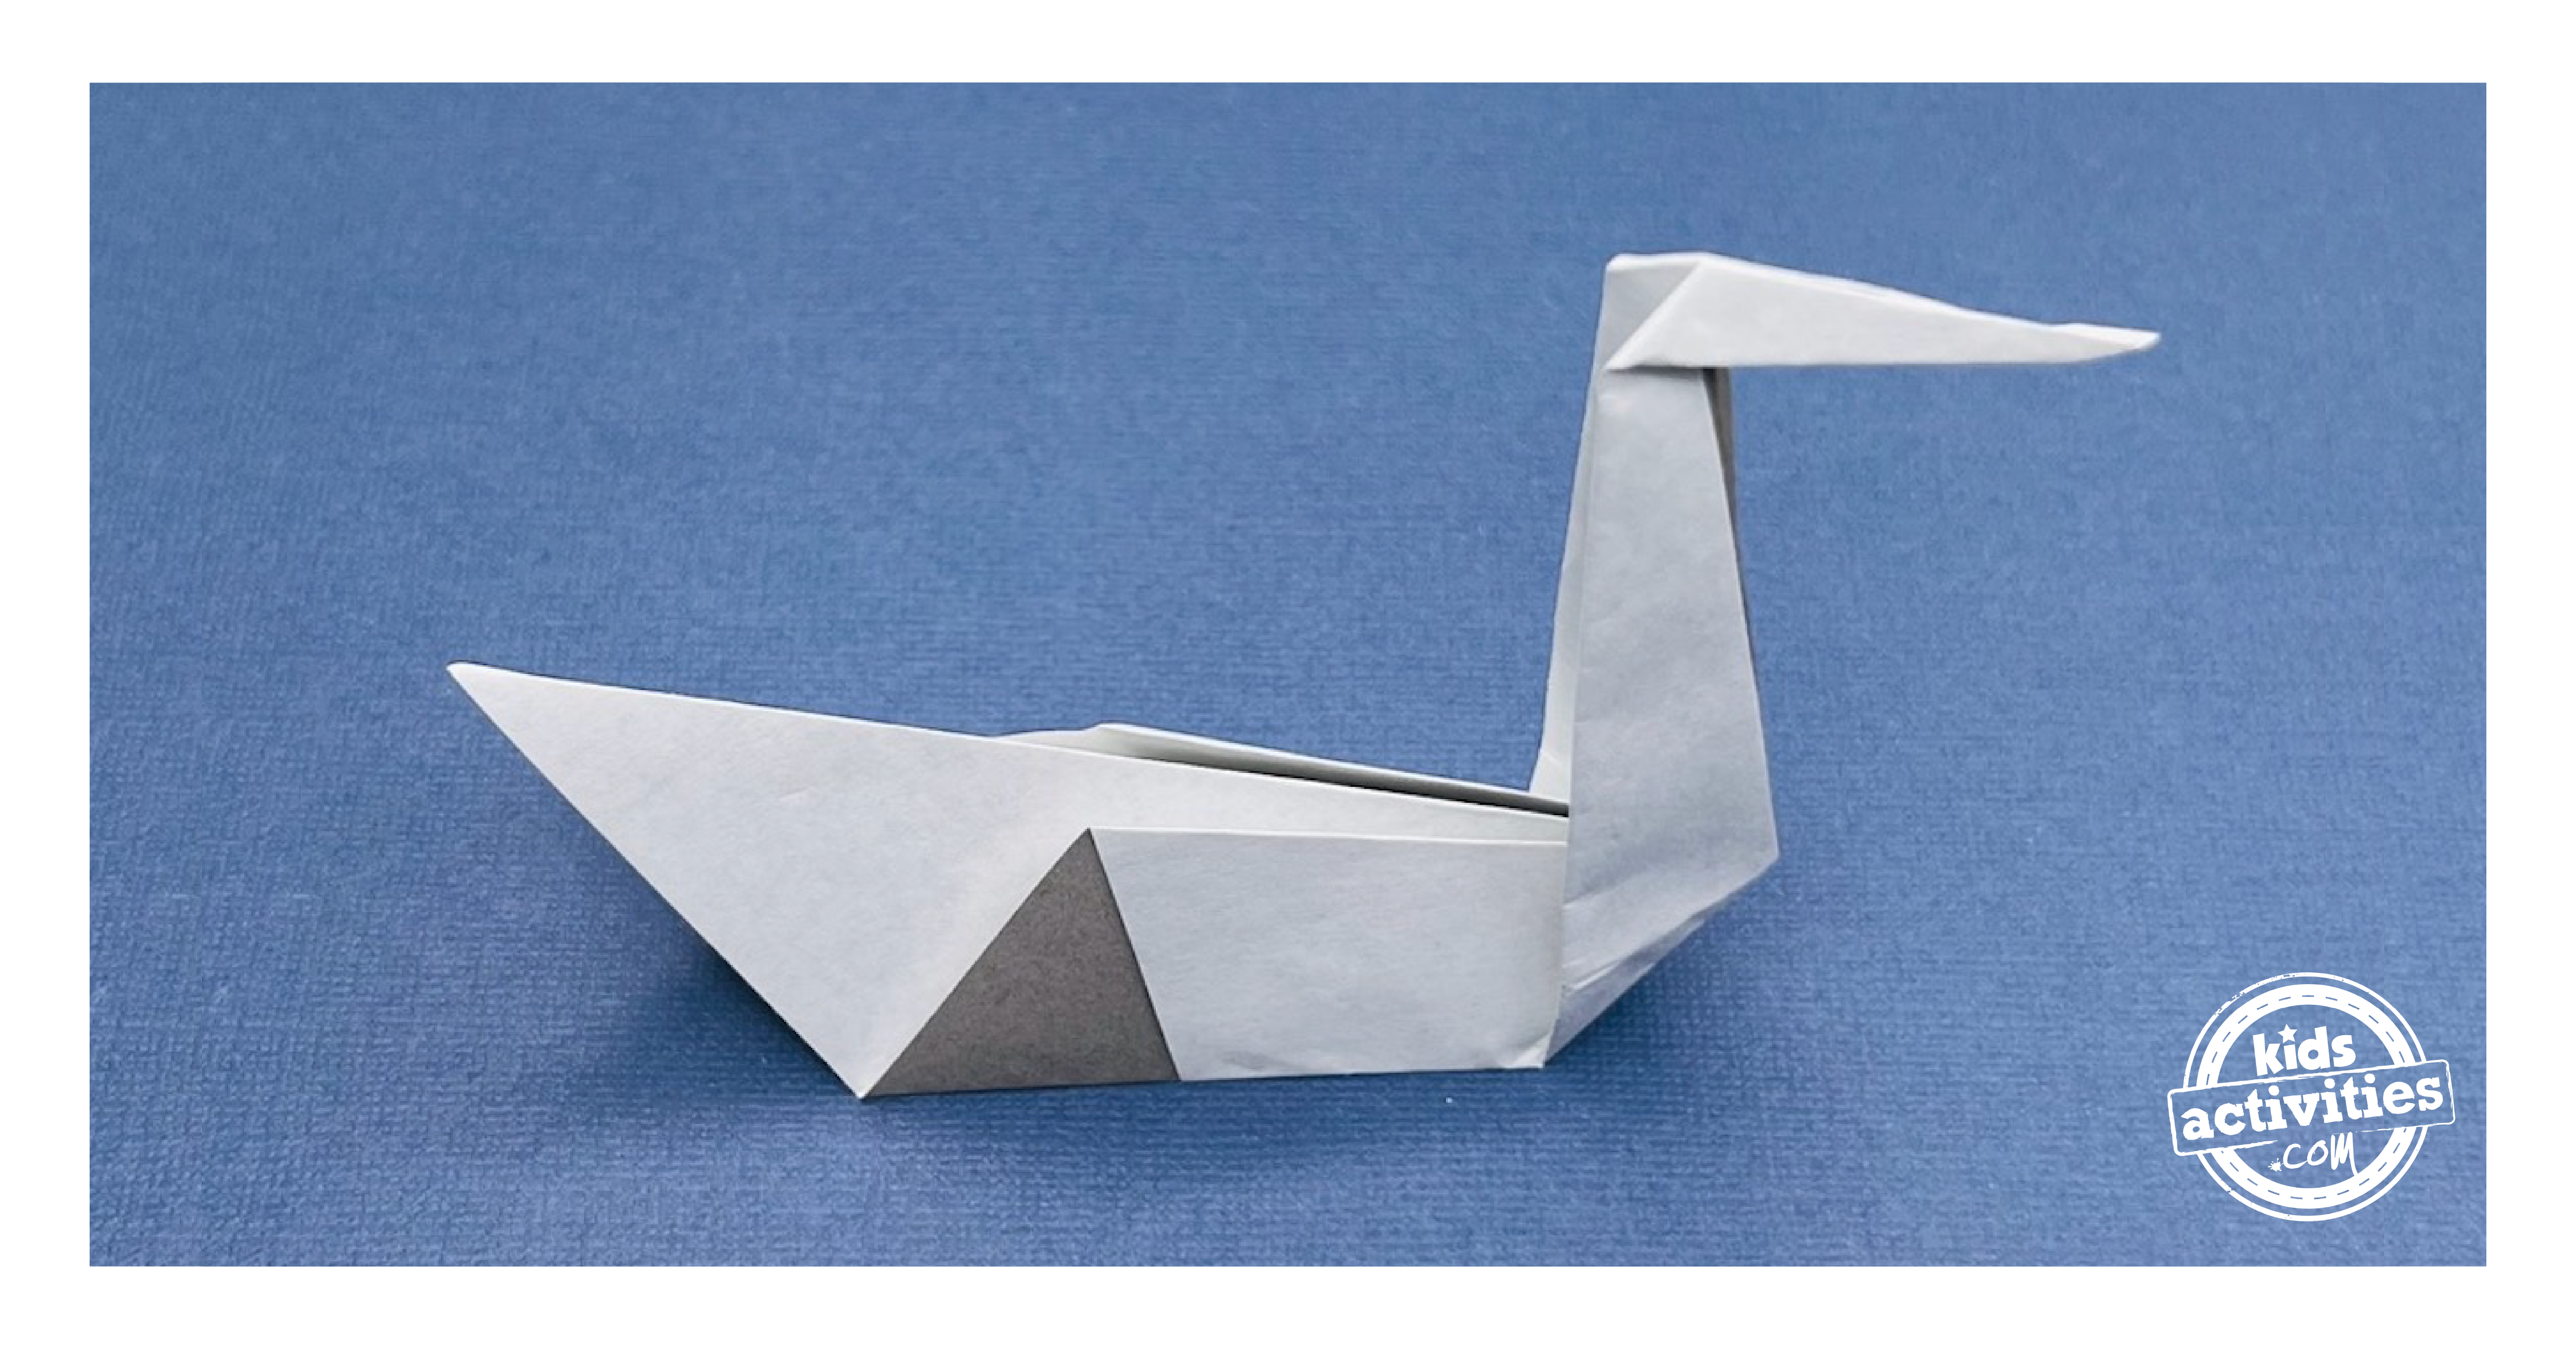
Lengthen the wings and maintain them in your most popular place. Add some particulars if you wish to, comparable to eyes. Your first origami swan is completed! 

Origami Swan - Step 10 - Finished origami swan over a blue background. Tutorial from Kids Activities Blog
Voila! We did it!

With only a little bit of observe and a few sq. sheets, you may create a number of swans to brighten your room or give as presents!

Lively Time
quarter-hour

Whole Time
quarter-hour

Problem
simple

Estimated Price
$2

Supplies

  • One sq. piece of orgami paper or common paper.

Extra Origami Concepts From Children Actions Weblog

Did you’ve got enjoyable folding this origami swan?

Leave A Reply