Easy Origami Fox Tutorial | Kids Activities Blog

0

In case you’re searching for a craft that may be a lot of enjoyable and doesn’t require a lot prep, you’re within the proper place! As we speak we have now a cute origami fox tutorial that’s good for youthful artists in addition to adults.

Let’s make a cute fox utilizing a sq. piece of origami paper!

Directions:

Earlier than we start, be sure you have a sq. piece of paper prepared. You need to use common paper, however origami paper works higher for this mission. Now, let’s get began with the step-by-step directions:

Step 1: 

Begin with a sq. piece of paper. In case you’re utilizing origami paper, start with the white aspect going through up.

origami fox - step 1 - a square piece of paper with the white side facing up. Tutorial from Kids Activities Blog.
Let your creativity out!

Step 2:

Fold the backside nook as much as the highest nook to create a triangle. Make sure the corners are lined up completely and crease the underside.

origami fox - step 2 - Fold the bottom corner up to the top corner, to create a triangle. Make sure the corners line up and crease the bottom. Tutorial from Kids Activities Blog.
Making this craft is a lot enjoyable.

Step 3:

Take each backside corners and fold them as much as the highest to create a smaller sq..

origami fox - step 3 - Take both bottom corners and fold to the top, to make a smaller square. Tutorial from Kids Activities Blog.
Fold, create, crease!
origami fox - step 3 - Fold the bottom corner up to the top corner, to create a triangle. Make sure the corners line up and crease the bottom. Tutorial from Kids Activities Blog.
Repeat on the opposite aspect.

Step 4:

Flip the paper over and fold it in half to create one other triangle.

origami fox - step 4 - Flip it over. Tutorial from Kids Activities Blog.
Let’s remodel paper into artwork!
origami fox - step 4 - fold the paper in half, to create a triangle. Tutorial from Kids Activities Blog.
Fold as proven.

Step 5: 

Take the left nook the place the flaps are and fold it to the aspect and right down to the underside level. Then rotate so the flaps are on the correct aspect. This may create the fox’s ears!

origami fox - step 5 - Take the left corner where the flaps are and fold it to the side and down to the bottom point. This will create the fox's ears. - Tutorial from Kids activities Blog
Origami fox - step 5 - rotate to the right so the flaps are on the right side. tutorial from kids activities blog
We’re virtually completed with the origami fox!

Step 6:

For the face, take the second flap and fold it up. Use your center finger to push within the center to open it. Press down and line up the nostril with the sting.

origami fox - step 6 - finger pushing down in the second flap to make the face. Press down and line up the nose with the edge. - tutorial from kids activities blog
Shaping the fox’s face!
origami fox - step 6 - Press down and line up the nose with the edge. - tutorial from kids activities blog
Folding paper is a peaceable exercise, do you agree?

Step 7:

Now let’s make the fox’s tail! Fold the left nook in and line it up with the underside.

origami fox - step 7 - To make the fox's tail, take the left corner and fold it in and line it up with the bottom. - tutorial from kids activities blog
Only a few ending particulars!

Step 8:

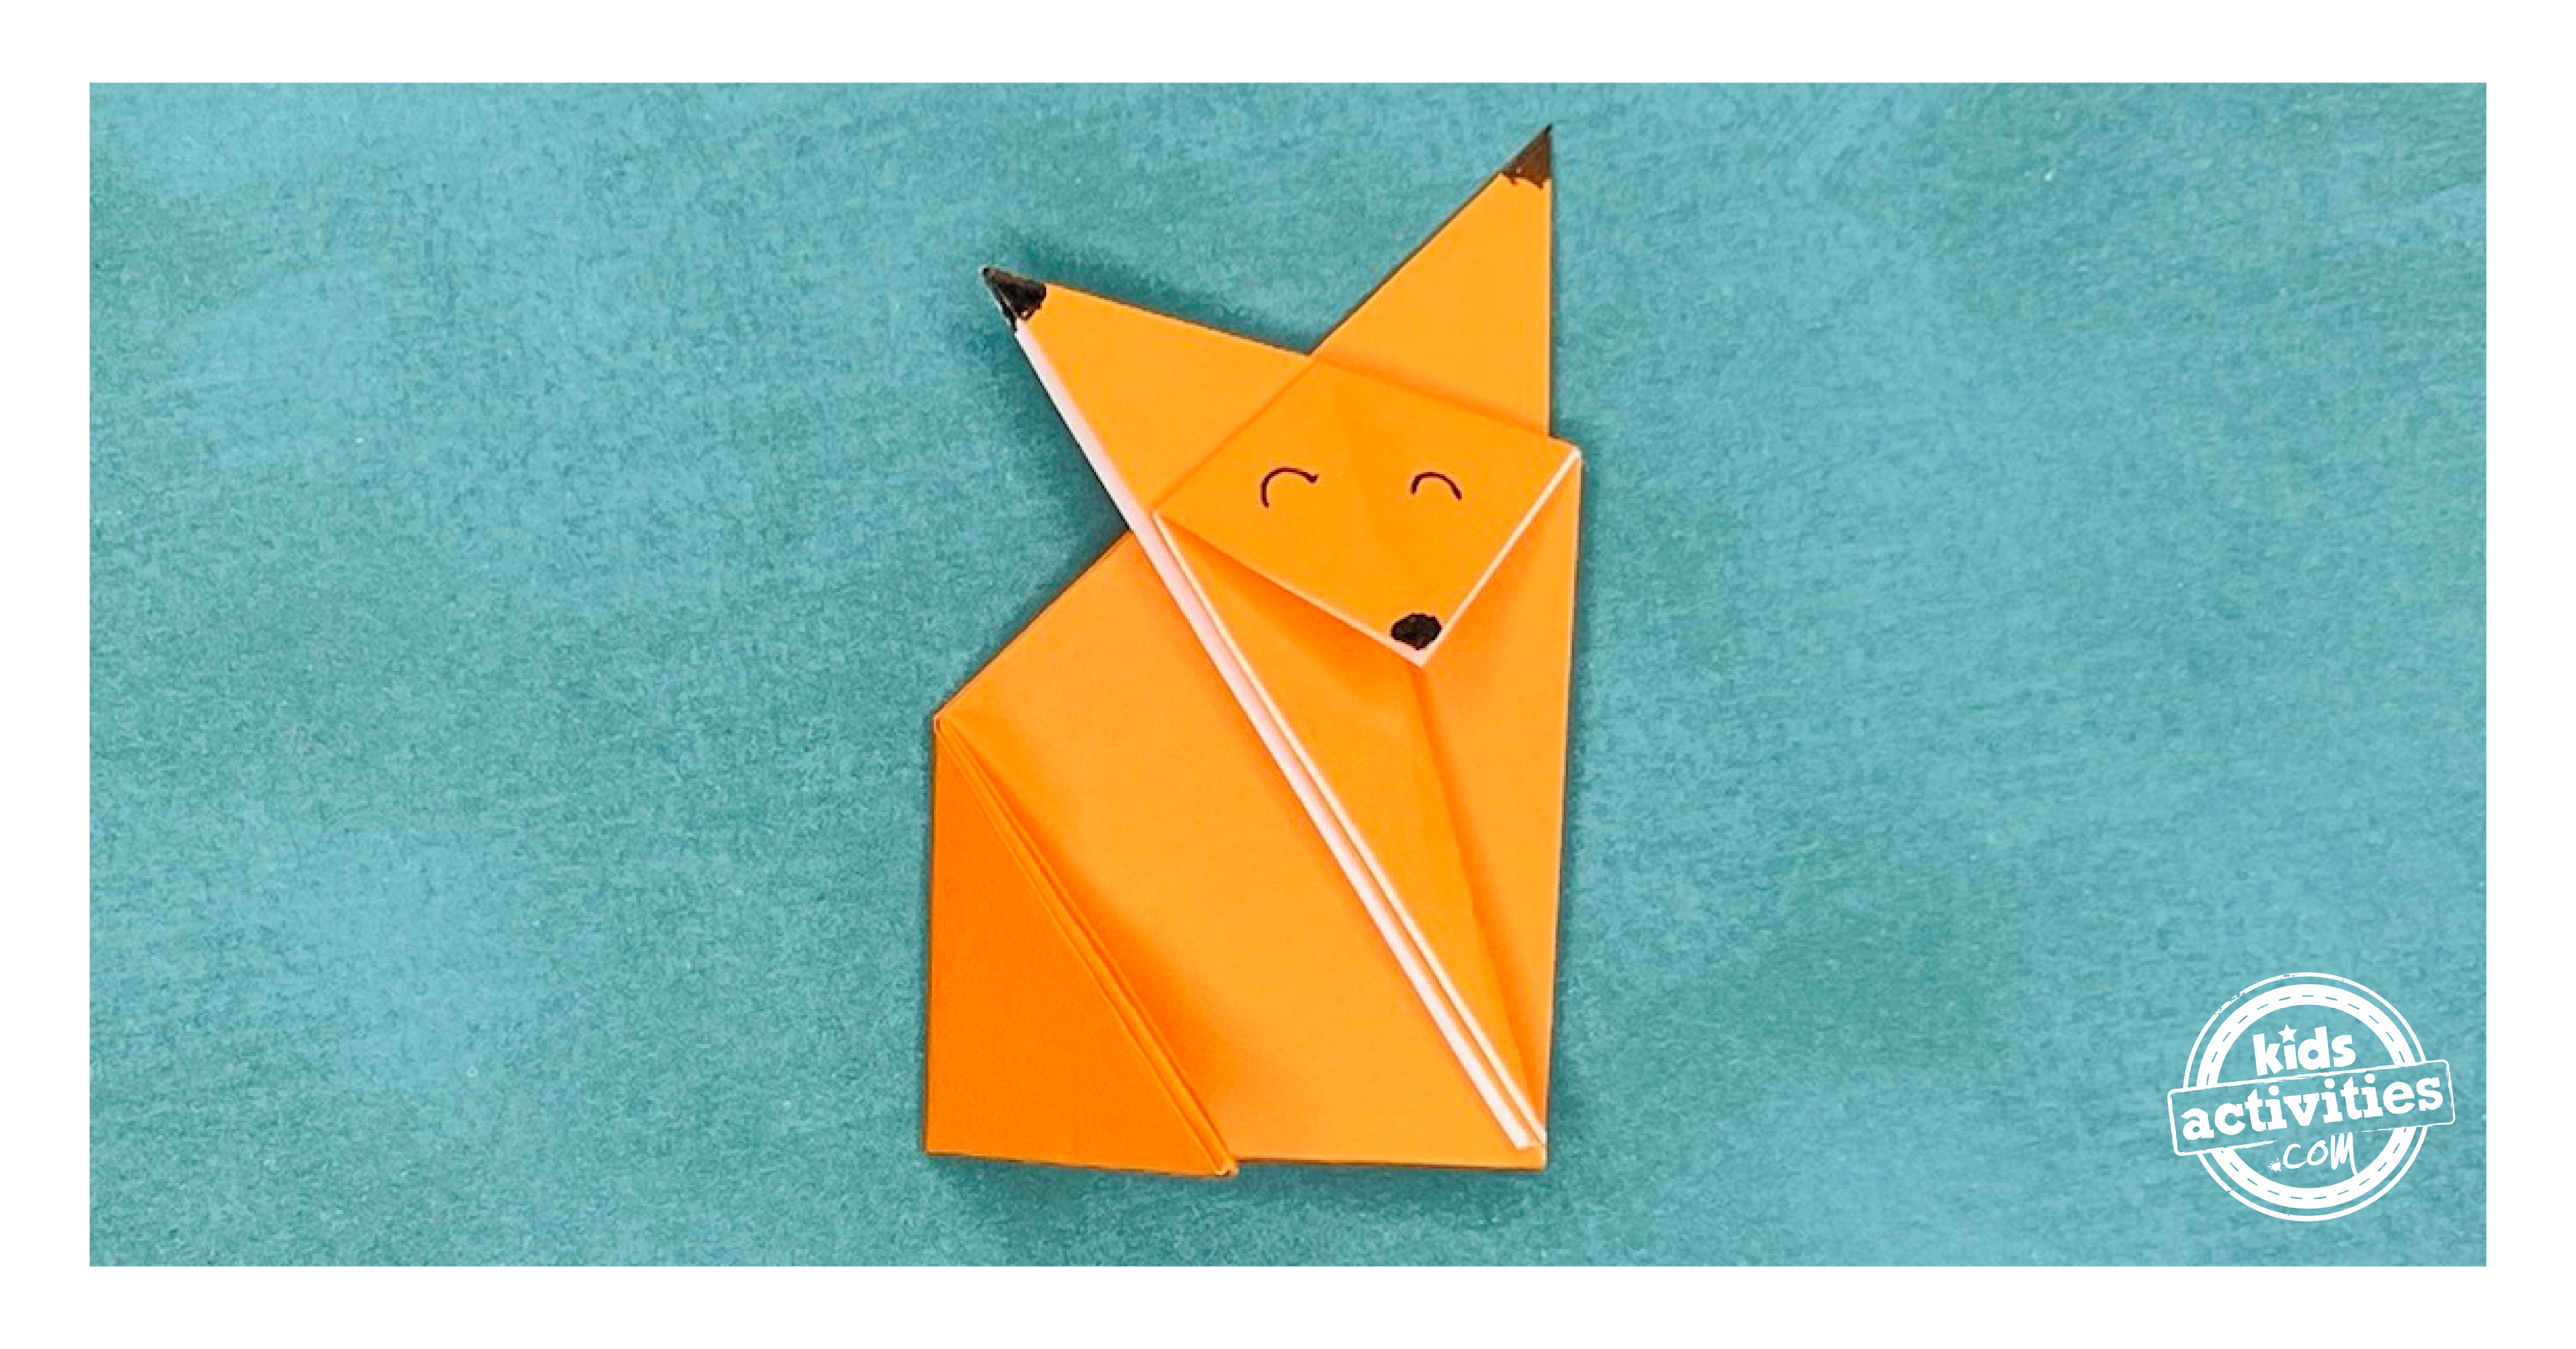
Utilizing a marker, draw the face and another particulars you need.

origami fox - step 8 - Origami fox done, with details on the face with a marker.  tutorial from kids activities blog
That is the final step!

Your personal fox origami? is now full! This cute little creature can stand by itself, including a contact of appeal wherever it goes.

Thought: Make a bunch of origami foxes to brighten desks, cabinets, or as a part of a group of origami animals. 

Lively Time
10 minutes

Complete Time
10 minutes

Problem
straightforward

Estimated Price
$2

Supplies

  • One sq. piece of standard paper or origami paper.

Extra Origami Concepts From Children Actions Weblog

Did you get pleasure from making this cute origami fox?

Leave A Reply