Make a Friendly Spooky Origami Ghost

0

In search of a enjoyable and easy artwork venture that’s excellent for youths and adults alike? Look no additional! At this time now we have an origami ghost tutorial. Whether or not you’re preparing for Halloween or just wish to add some spooky decorations to your area, these pleasant ghosts are simply what you want.

This simple origami ghost could be completed in only a few minutes!

Directions to make a paper ghost

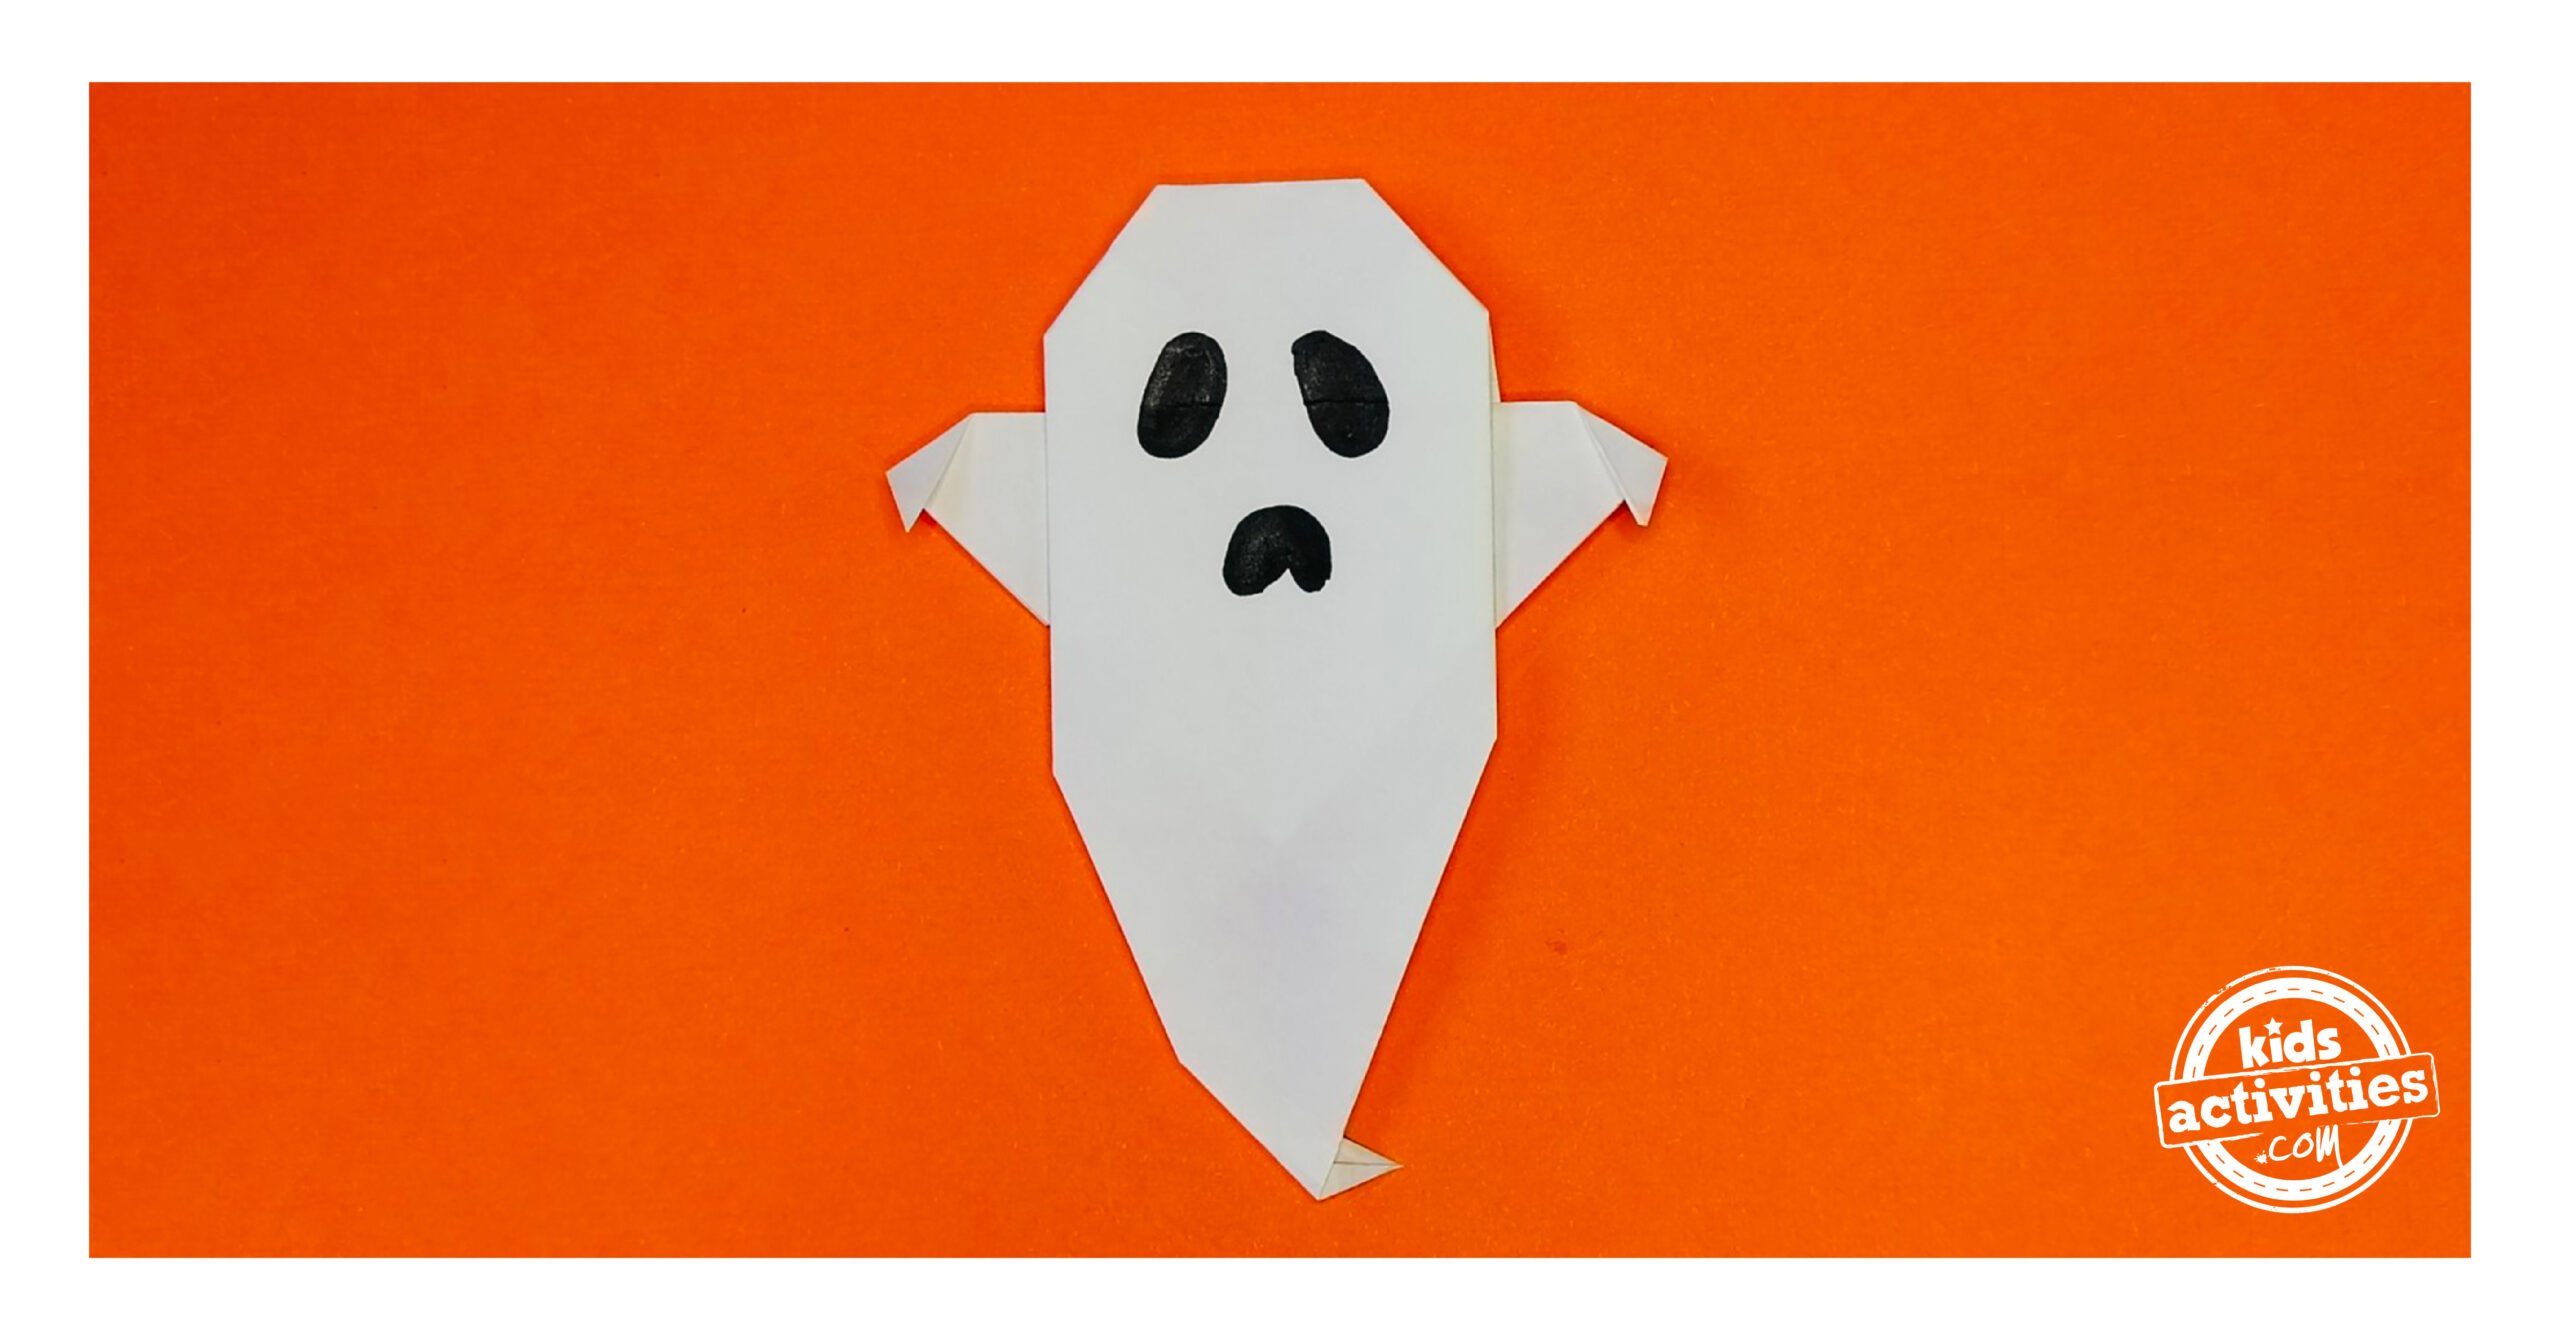
These simple origami ghosts make improbable Halloween decorations or a enjoyable artwork venture for any time of the 12 months. Get inventive and experiment with totally different sizes and expressions to make your ghosts uniquely yours!

Step 1:

Begin with a sq. paper.

Origami Ghost - Step 1. There's a square piece of paper with the white side facing up. Tutorial from Kids Activities Blog
Let’s get began!

Step 2:

Fold diagonally and open.

Origami Ghost - Step 2. The paper is folded diagonally and then opened. Tutorial from Kids Activities Blog
That is such a enjoyable craft for younger children!

Step 3:

Fold diagonally within the different course, and open.

Origami Ghost - Step 3. The paper is folded diagonally in the opposite direction, and then opened. Tutorial from Kids Activities Blog
Proceed folding away.

Step 4:

Fold the left nook inward to the center line.

Origami Ghost - Step 4. The left corner is folded inward towards the middle line. Tutorial from Kids Activities Blog
Origami requires a little bit of endurance nevertheless it’s so rewarding.

Step 5:

Repeat this fold with the 2 different sides of your ghost, leaving one nook unfolded.

Origami Ghost - Step 5. The left and right corners are folded inward towards the middle line, leaving one corner unfolded. Tutorial from Kids Activities Blog
Make a form just like an envelope.

Step 6:

Open the folds.

Origami Ghost - Step 6. The folds are opened. Tutorial from Kids Activities Blog
Open up these folds.

Step 7:

Fold the underside nook upward to fulfill the primary line, forming a triangle inside the primary determine.

Origami Ghost - Step 7. The bottom corner is folded upward to meet the first line, forming a triangle inside the main figure. Tutorial from Kids Activities Blog
A triangle inside a triangle!

Step 8:

Flip the paper the wrong way up, and accordion fold the proper nook till it reaches the center line.

Origami Ghost - Step 8. The paper is turned upside down, and the right corner is accordion folded until it reaches the middle line. Tutorial from Kids Activities Blog
Don’t lose your endurance.

Step 9:

Repeat the accordion fold on the left aspect.

Origami Ghost - Step 9. The accordion fold is repeated on the left side. Tutorial from Kids Activities Blog
Accordion folding is cool.

Step 10:

Fastidiously open the proper aspect and squash fold the highest half to kind a smaller triangle form.

Origami Ghost - Step 10. The right side is carefully opened and the top part is squash folded to form a smaller triangle. Tutorial from Kids Activities Blog
simply image how cool your origami ghost will look in your house.

Step 11:

Repeat the squash fold on the opposite aspect.

Origami Ghost - Step 11. The squash fold is repeated on the other side. Tutorial from Kids Activities Blog
Let’s squash fold the opposite aspect too.

Step 12:

Fold the underside proper aspect towards the center line, crease, and repeat on the left aspect to kind a tip.

Origami Ghost - Step 12. The bottom right side is folded toward the middle line and creased, and the same is repeated on the left side to form a tip. Tutorial from Kids Activities Blog
Origami is like magic in paper.
Origami Ghost - Step 12. The bottom right side is folded toward the middle line and creased, and the same is repeated on the left side to form a tip. Tutorial from Kids Activities Blog
let’s fold these corners in.

Step 13:

Fold the left and proper prime corners inwards.

Origami Ghost - Step 13. The left and right top corners are folded inwards. Tutorial from Kids Activities Blog
Are you able to see the ghost form now?

Step 14:

Flip the determine over and fold the ideas of the left and proper triangles downwards to create spooky ghost arms.

Origami Ghost - Step 14. The figure is flipped over and the tip of the left and right triangles is folded downwards to create spooky ghost arms. Tutorial from Kids Activities Blog
Virtually completed, only a few extra steps.

Step 15:

Fold the underside tip to the aspect to create the enduring ghost tail.

Origami Ghost - Step 15. The bottom tip is folded to the side to create the iconic ghost tail. Tutorial from Kids Activities Blog
Just a few extra folds…

Step 16:

For the final step, draw the face of your ghost origami utilizing a black marker.

Origami Ghost - Step 16. The face of the origami ghost is drawn using a black marker. Tutorial from Kids Activities Blog
And your origami ghost is all prepared to embellish your area!

Lively Time
quarter-hour

Complete Time
quarter-hour

Issue
simple

Estimated Value
$1

Supplies

  • One sq. piece of white paper
  • Black marker for the face

MORE ORIGAMI PROJECTS FROM KIDS ACTIVITIES BLOG

From origami animals to different enjoyable origami crafts, we’ve acquired all of it!

Did you get pleasure from making this origami ghost?

Leave A Reply