On the lookout for a inventive manner so as to add a singular contact to an important day or just wish to maintain the youngsters busy with a easy craft? Greenback invoice origami is a good answer! Not solely does it supply a new look to your gift-giving, nevertheless it’s additionally a enjoyable craft to do this doesn’t require any prep – all you want is a one-dollar invoice! Whether or not you’re aiming for a intelligent presentation for a present card or just wish to adorn your favourite options with some creativity, this origami bow tie tutorial is the proper place to start out.
Directions
Crafting your personal greenback invoice origami bow tie is tremendous enjoyable and never as onerous because it appears. It’s a smart way to create stunning bows, good for gifting events like birthdays, graduations, or as a singular addition to a present card.
Step 1:
Start by folding the greenback invoice crosswise after which unfolding it. Subsequent, fold the invoice in half lengthwise to set the inspiration to your bow tie.


Step 2:
Rotate the invoice till the earlier fold aligns on the high. Fold each high corners downward after which unfold them.


Step 3:
Create an inside reverse fold for each the appropriate and left corners, utilizing the prevailing creases as a information.


Step 4:
Fold up the underside of the entrance layer of the invoice, following the indicated creases. Repeat this fold for the again layer to make sure symmetry.


Step 5:
Type triangles by folding each backside corners upward on the entrance layer. Mirror this motion for the other facet to form the bow tie.


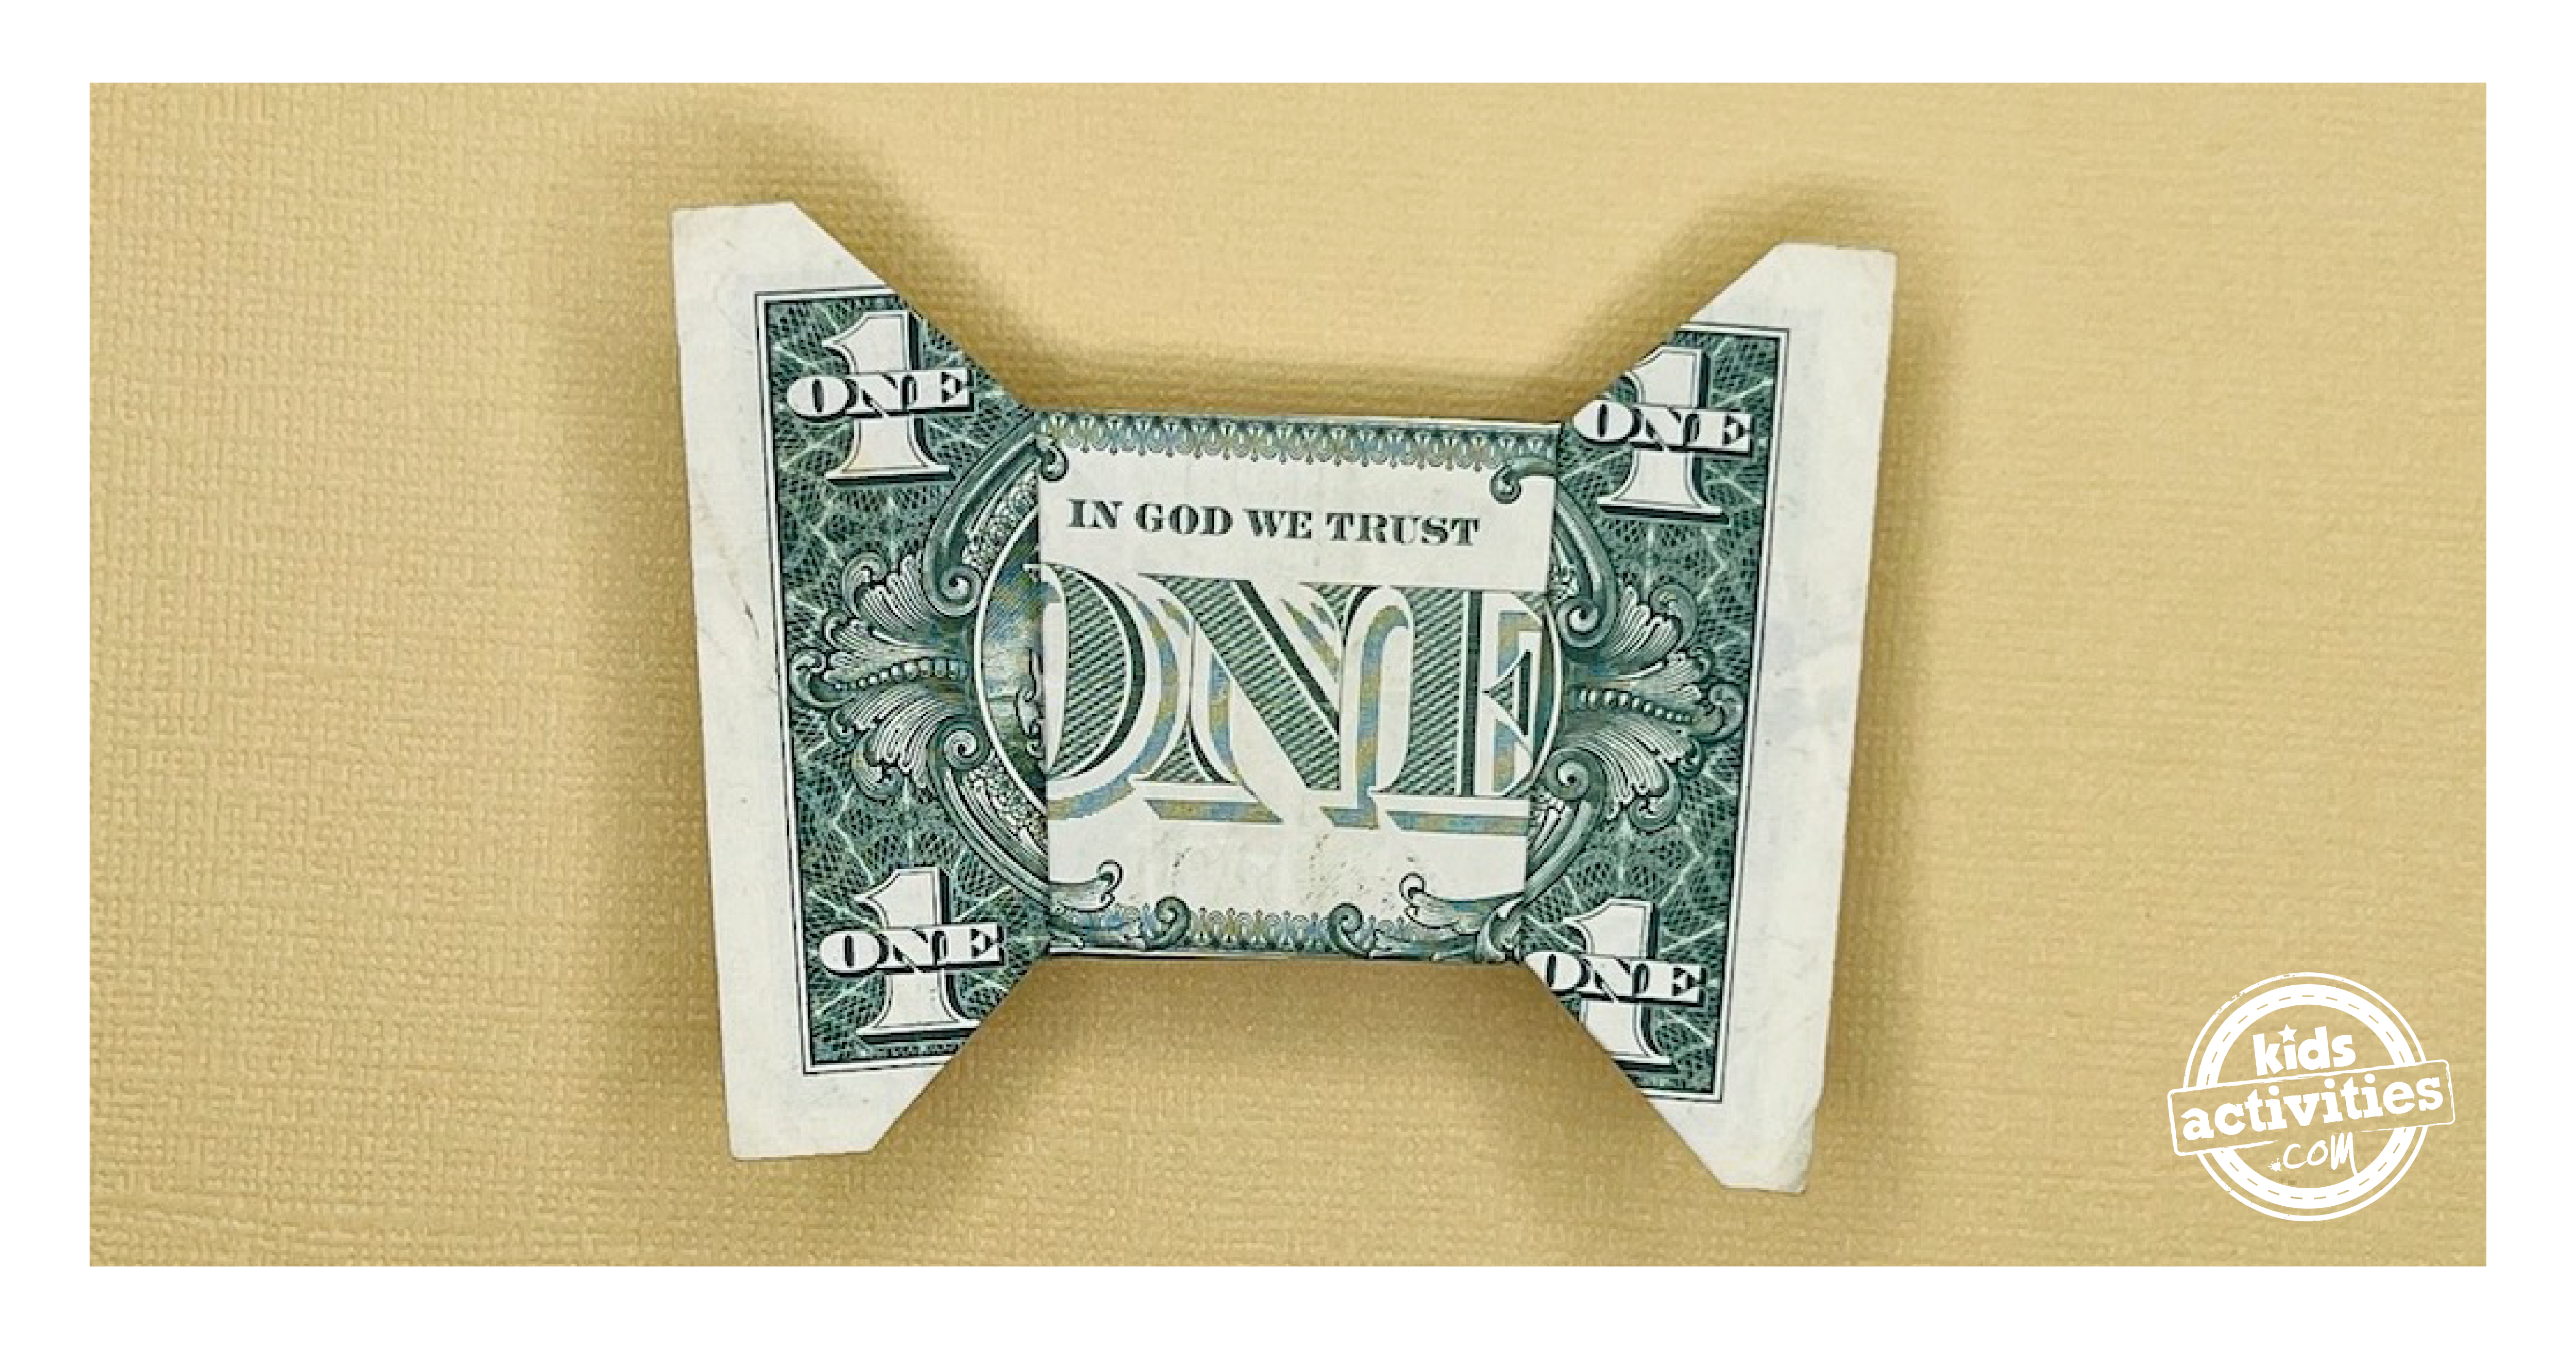
Step 6:
Rotate the invoice to 1 facet and gently pull the sides aside to separate each layers of the invoice. Whereas doing so, press the middle till the determine lays fully flat.

Step 7:
Fastidiously separate the layers and make sure the invoice varieties a flat, well-defined bow tie form.

Lively Time
quarter-hour
Complete Time
quarter-hour
Issue
straightforward
Estimated Value
$1
Directions
- Start by folding the greenback invoice crosswise after which unfolding it. Subsequent, fold the invoice in half lengthwise to set the inspiration to your bow tie.
- Rotate the invoice till the earlier fold aligns on the high. Fold each high corners downward after which unfold them.
- Create an inside reverse fold for each the appropriate and left corners, utilizing the prevailing creases as a information.
- Fold up the underside of the entrance layer of the invoice, following the indicated creases. Repeat this fold for the again layer to make sure symmetry.
- Type triangles by folding each backside corners upward on the entrance layer. Mirror this motion for the other facet to form the bow tie.
- Rotate the invoice to 1 facet and gently pull the sides aside to separate each layers of the invoice. Whereas doing so, press the middle till the determine lays fully flat.
- Fastidiously separate the layers and make sure the invoice varieties a flat, well-defined bow tie form.
- Your greenback invoice origami bow tie is completed!
MORE ORIGAMI TUTORIALS FROM KIDS ACTIVITIES BLOG:
Did you get pleasure from making this greenback invoice origami diamond?